How to Use an Ultrasonic Cleaner: CDS-200A User Guide

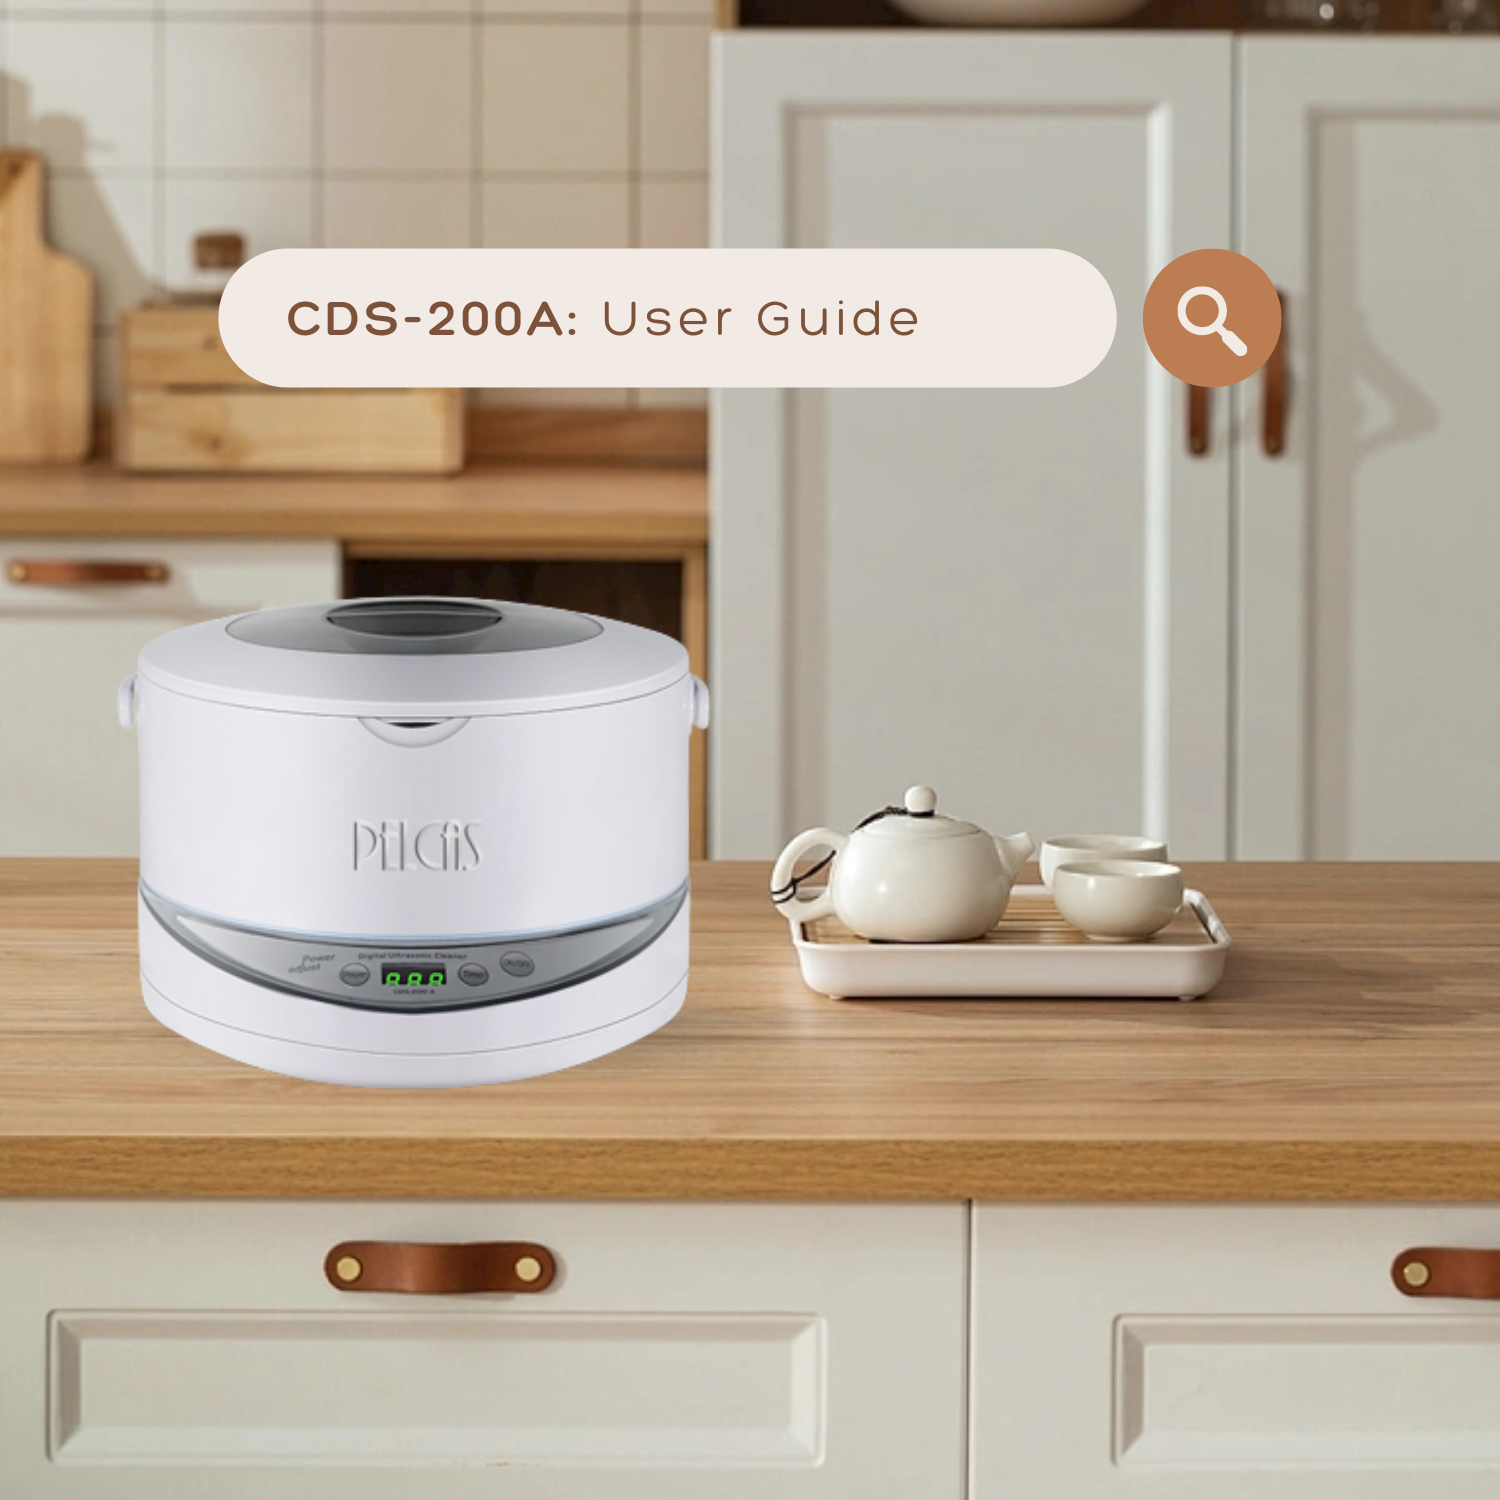
In the world of advanced cleaning technology, ultrasonic cleaners have carved a niche for themselves as powerful tools that effortlessly remove dirt, grime, and contaminants from various objects. Whether you're a seasoned user or a newcomer to ultrasonic cleaning, this comprehensive guide will walk you through the steps of effectively using an ultrasonic cleaner——CDS-200A.
Understanding Ultrasonic Cleaning: The Basics
Ultrasonic cleaning is a process that employs high-frequency sound waves to create microscopic bubbles in a cleaning solution. As these bubbles collapse, they produce tiny shock waves that dislodge dirt and particles from the surface of the object being cleaned. This technology is used across a wide range of industries, from jewelry and eyewear to automotive and medical equipment.
Step-by-Step Guide to Using CDS-200A
Step 1: Set Up the Ultrasonic Cleaner
Choose a stable surface to set up your ultrasonic cleaner. Ensure the device is plugged into a safe electrical outlet.
Step 2: Prepare the Cleaning Agents
Different objects may require specific cleaning agents. For example, jewelry should not be cleaned with corrosive cleaning agents. Consult the manufacturer's guidelines for the appropriate cleaning agents.

Step 3: Arrange the Items to be Cleaned
Place the items you want to clean into the cleaning basket or holder. Avoid overcrowding to ensure optimal cleaning results.
Step 4: Start the Cleaning Process
You can choose to close the lid of the ultrasonic cleaner to minimize noise or choose to unclose the lid to look the precess of cleaning.
Turn on the ultrasonic cleaner using the control panel. There are power button, timer button, and on/off button.
Power button has 3 power gears. “03” is the strongest power and “01” is the weakest power. The cycle line is "02"-"03"-"01". You can choose power freely every time press “Power” button.
Timer button has 5 timer gears. “180s” is displayed automatically. The cycle line is “180s”-“280s”-“380s”-“480s”-“90s”
On/off button: Press “On/Off” button to start cleaning and the blue indication light is on. The time left will be displayed on the screen.
Note: During cleaning, you can hear the “ZIZI” voice, it means the unit is working normally.
Step 5: Wait for the Cleaning Cycle to Complete
Ultrasonic cleaners typically have varying cleaning cycle durations. Use this time to observe the cleaning process. Witness the transformation as dirt and particles are gently lifted from the objects.
Step 6: Rinse and Dry
Once the cleaning cycle is complete, carefully remove the items from the cleaner. Rinse the items thoroughly with clean water to remove any residual cleaning solution. Use a soft cloth or air drying to ensure the items are completely dry before use.
Step 7: Clean the Ultrasonic Cleaner
After each use, turn off and unplug the ultrasonic cleaner. Empty and clean the tank to prevent the accumulation of dirt and residue. Detachable tank is one of the features of CDS-200A. You can just lift the handle on the tank and pour the sewage into the toilet. Use a mild detergent and a soft cloth for cleaning.
Incorporating an ultrasonic cleaner into your cleaning routine can revolutionize the way you maintain various items. By understanding the process and following these steps, you can harness the power of ultrasonic technology to achieve sparkling, debris-free results across a spectrum of objects. Whether it's your jewelry, eyeglasses, dental equipment, or even automotive parts, an ultrasonic cleaner can bring new life to your possessions with minimal effort.


Comments