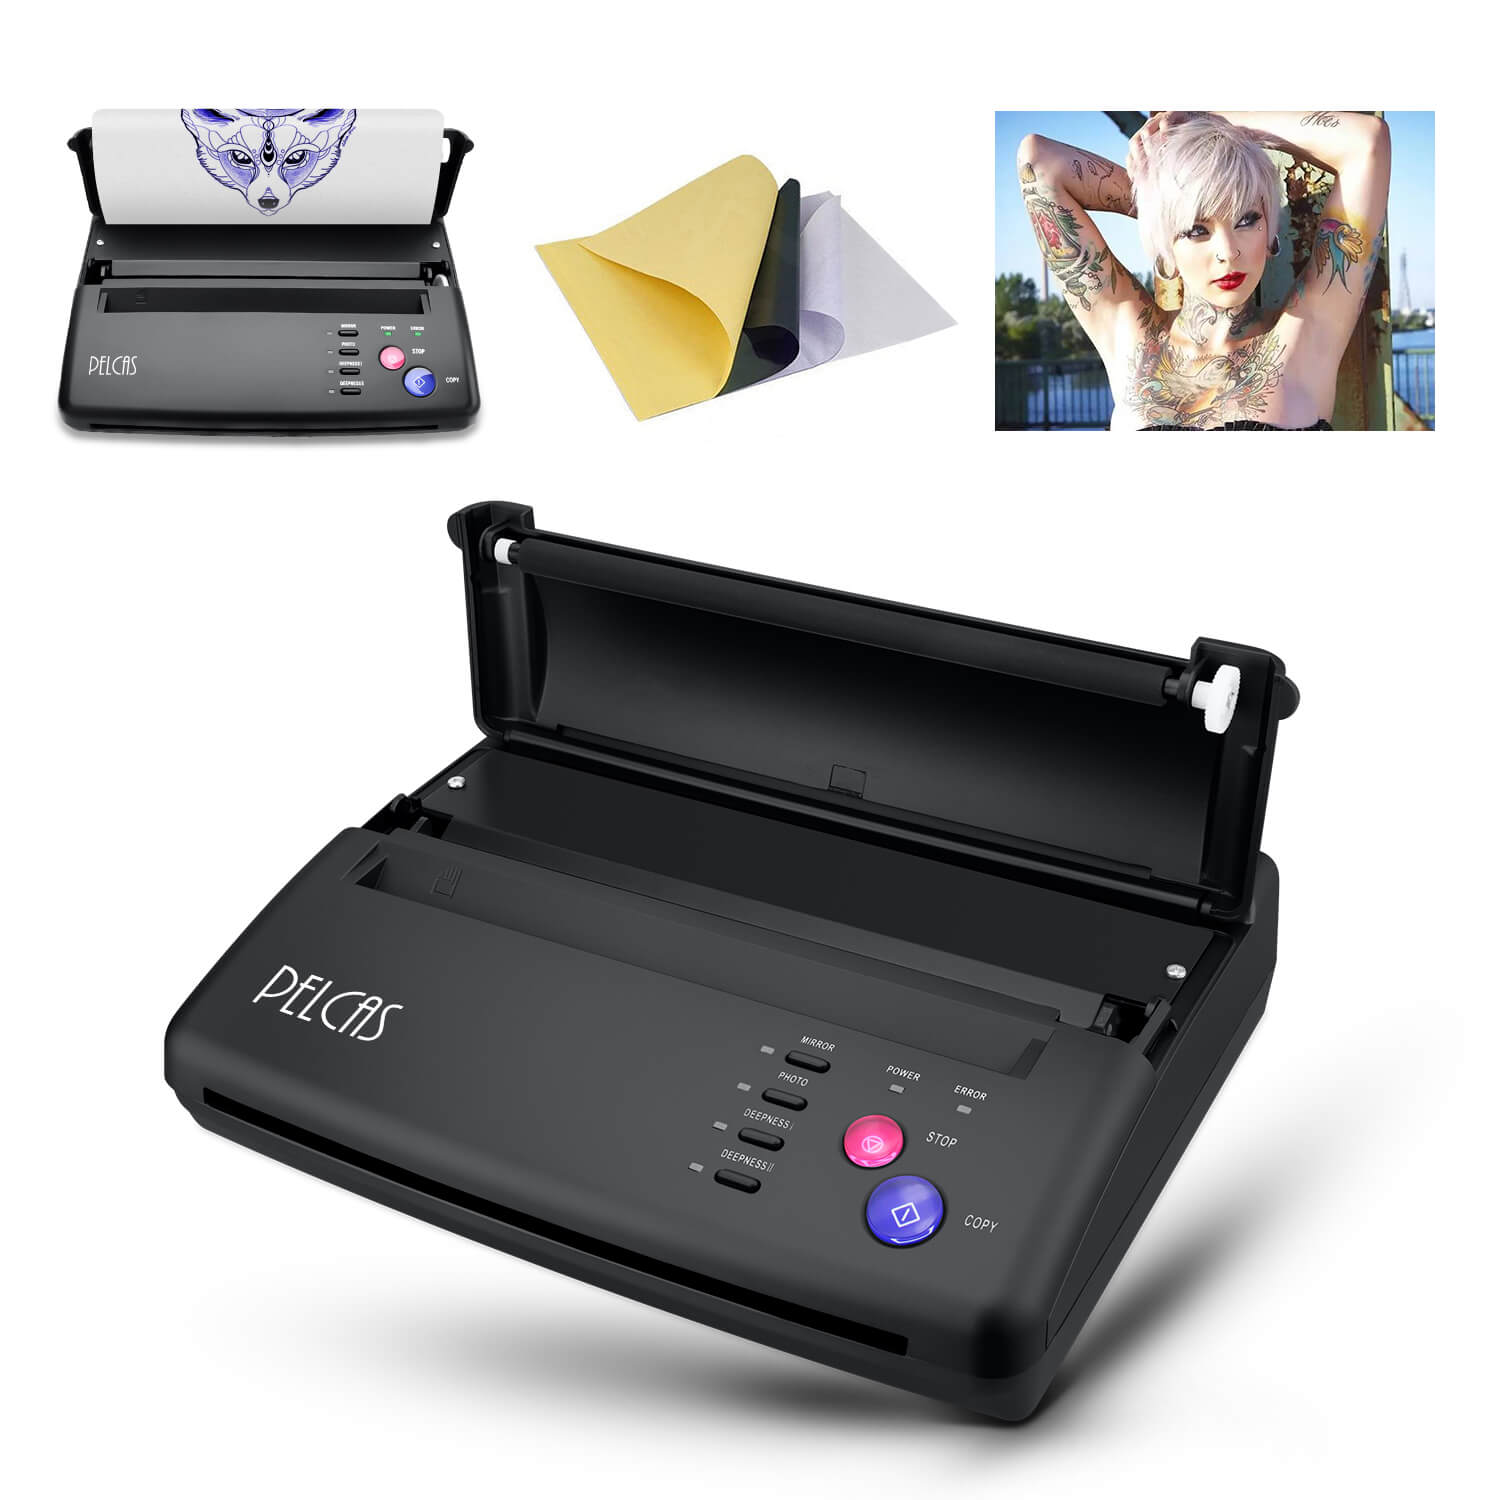
PELCAS tattoo stencil printer are used to help a tattoo artist transfer a tattoo design onto the skin and continue tattooing without making mistakes, especially for a new beginner. Easy to use this tattoo thermal copier to print the tattoo pattern you love or what you design on the transfer paper, then press the paper firmly and let it sit for a minute. Remove the paper, you will see the pattern onto your skin. Compared to the traditional tattoo machine, pelcas stencil printer is more effective and convenient.
Why Choose PELCAS Tattoo Stencil Transfer Machine?
1. Low noise & efficient printing
Pelcas stencil machine for tattoo adopt ABS material, work effectively for a long time, suitable for both freehand and print pattern. Low noise, the process of transferring a manuscript intact within 10 seconds, do not have to worry to disturb others.
2. Overheating indicator lights
Pelcas tattoo printer won’t overheating in normal use, but if it works for a long time, the indicator lights will turn red to show TPH overheating. Note: The green indicator lights will light on when the machine working.
3. Adjustable Fine Resolution
Adjustable photo or fine resolution. Mirror copy and normal copy have overheating warning. Users can choose between mirror, photo and two depth (I and II) settings to suit the required template copy.
Note:
1. In order to get a better transfer effect, after transferring 1-2 sheets, the tattoo transfer machine should rest for a few minutes.
2. In order to protect the tattoo transfer machine, please do not transfer continuously, let it cool down after long time use.
4. Easy To Use & Economical
No ink, no need to replace parts. Suitable for tattoo template paper, with fast printing speed and low noise. Pelcas tattoo copier, copy your design onto your skin flawlessly.
Free 10 sheets of transfer tattoo paper (in the package) & 300 transfer patterns
How To Use PELCAS Tattoo Stencil Printer?
Operation Instruction Video:
https://youtu.be/bEHBULsNE9w
Step 1 – Remove the protect film of the transfer paper, place the tattoo transfer paper into the printer tray. Make sure that the paper is position properly. The white side of the paper should face the printer head. This is how it will receive the ink and actually print out a design.
Step 2 – when the printing is done, remove the paper from the printer tray and allow it to dry down completely.
Step3 – Transferring the design onto the skin. Make sure that the design side is placed down, so it can transfer properly. Press the paper firmly and let it sit for a minute. Then, remove the paper and admire your work.
PELCAS Thermal Tattoo Stencil Printer User Manual
PELCAS Thermal Tattoo Stencil Printer Specification
Weight: 1.17Kg
Effective Scanning Width: 210 mm
Document size: A5-A4
Document Type: Fine/Photo
Document Thickness: 0.06 mm-0.15mm
Power: AC 110V-220V; 50Hz/0.46A
Power Consumption: Standby 5W
Type: PELCAS Tattoo Transfer Machine
Package Size: 290 mm(W) x 280(D) x 80mm(H)
Packing List
1 x Main Unit
1 x Power Cord
1 x User Manual
10 x Transfer Papaer


