How to Do Nail Art Patch at Home
Are you tired of spending a fortune at the nail salon to get trendy nail art? Well, worry no more! Nail art patches are the perfect solution for achieving stunning nail designs without breaking the bank. In this blog post, we'll guide you through the process of creating nail art patches at home, allowing you to unleash your creativity and flaunt beautiful nails without leaving your house. Let's dive in!
Step 1: Gather Your Supplies
Before you start, gather the necessary supplies for creating nail art patches. Here's what you'll need:
- Nail polish in your desired colors.
- A clear top coat.
- Nail art brushes or toothpicks.
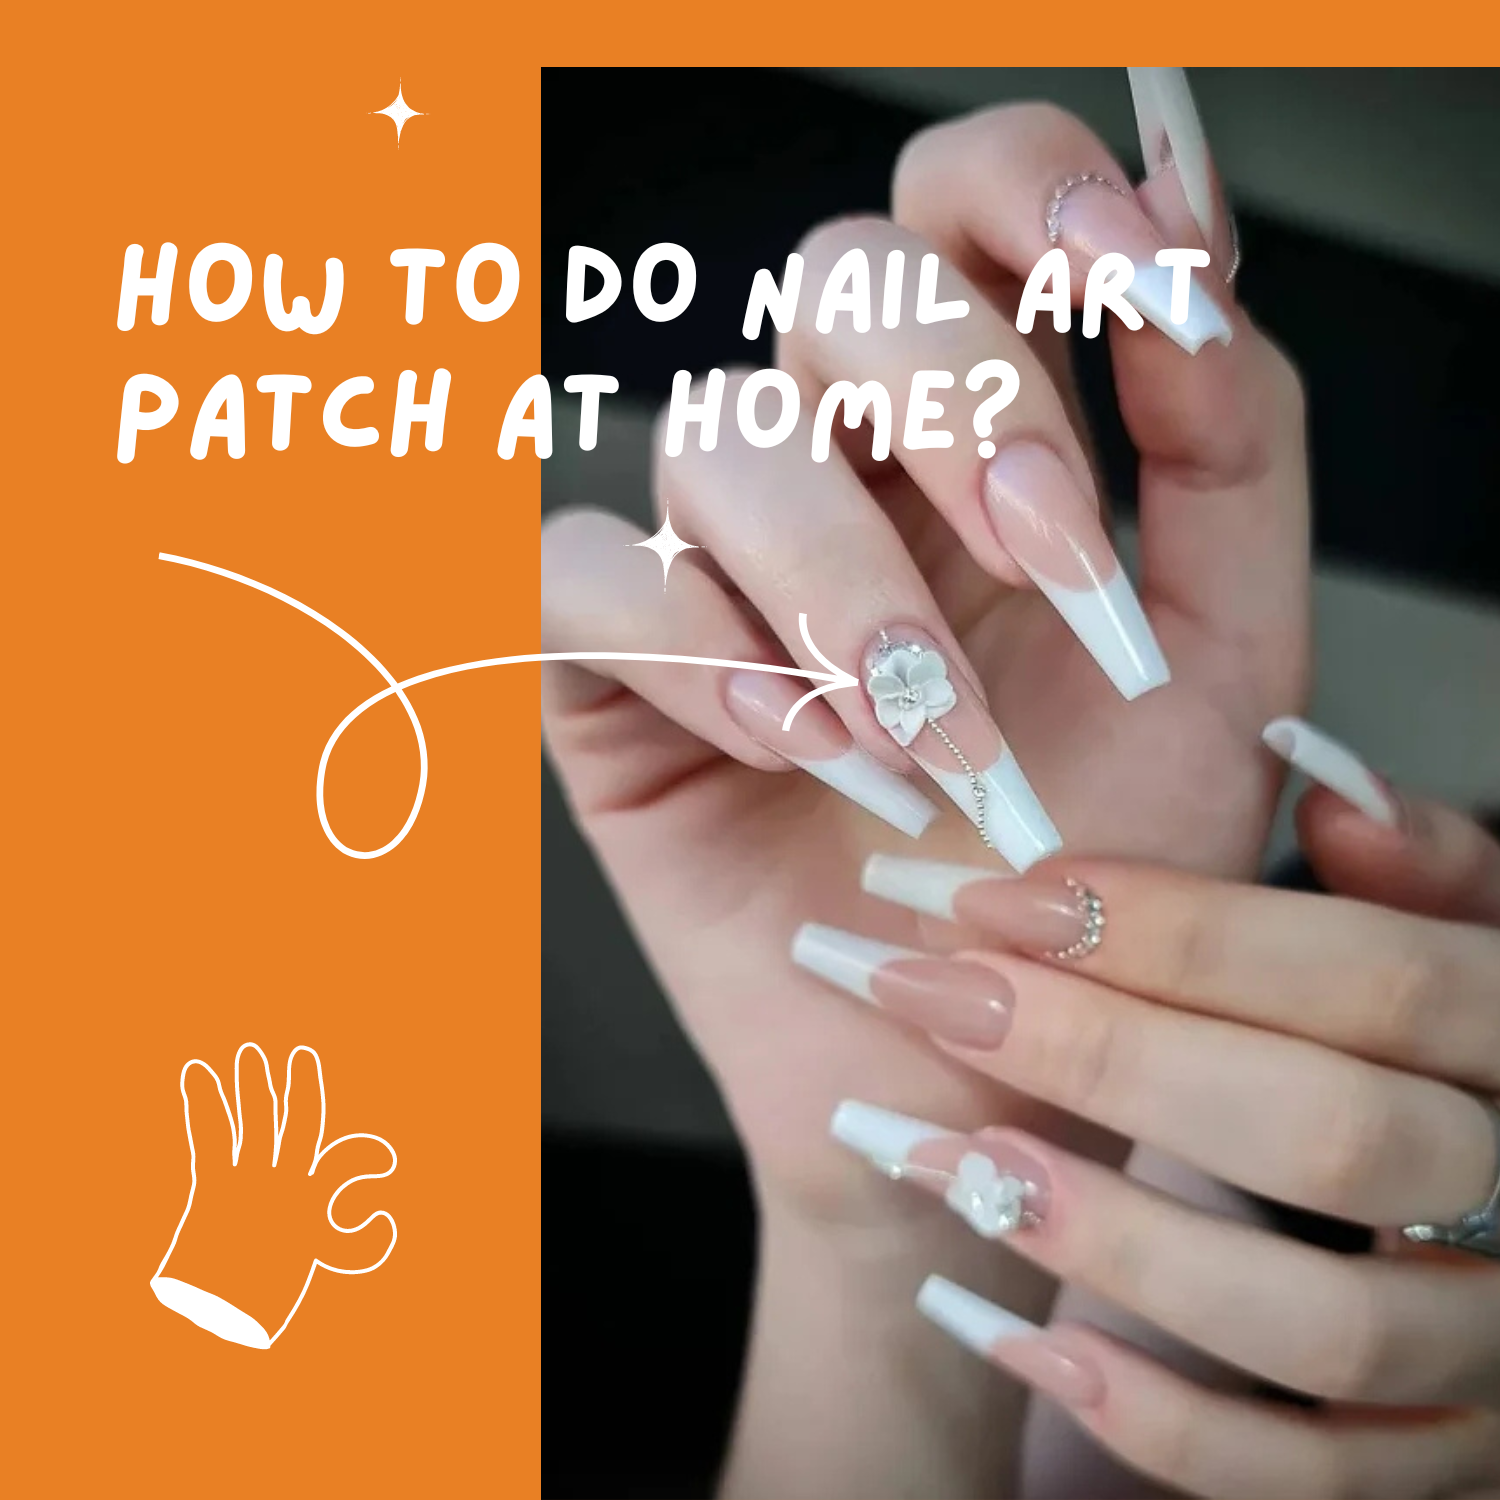
- Nail art decorations like glitters, rhinestones, or studs.
- A sheet of clear nail wraps or adhesive paper.
- Scissors and an electric nail drill.
Step 2: Prepare the Nail Wraps
If you're using clear nail wraps, cut them into smaller pieces to fit your nail size. Alternatively, you can use adhesive paper and cut it into desired shapes. Ensure the wraps are slightly larger than your nails to allow for easy application.
Step 3: Create the Design
This is the fun part! Using your nail polish and nail art brushes or toothpicks, start creating your desired nail art design on the clear wraps or adhesive paper. Let your imagination run wild and experiment with different patterns, shapes, and colors. Don't forget to let each layer dry before adding another one to prevent smudging.
Step 4: Add Decorations
To make your nail art patches more eye-catching, consider adding decorative elements like glitters, rhinestones, or studs. You can apply them directly onto the wet polish or use a dot of clear polish as an adhesive. Get creative and mix and match different decorations to achieve a unique and personalized look.
Step 5: Seal the Design
Once you're satisfied with your nail art design, let it dry completely. Then, apply a layer of clear top coat over the entire design. This will seal the design, ensuring its longevity and adding a glossy finish. Allow the top coat to dry thoroughly.
Step 6: Application
When your nail art patches are fully dried and ready to be applied, gently peel them off the clear wraps or adhesive paper. Place them onto your clean and dry nails, aligning them with your nail bed. Smooth out any air bubbles or wrinkles by pressing gently with a cuticle pusher or your fingertip.
Step 7: Finishing Touches
Trim any excess patch material using scissors and shape your nails with an electric nail drill for a perfect fit. Apply another layer of top coat over the entire nail, including the edges of the patch, to secure it and provide extra protection. Allow the top coat to dry completely.

Conclusion
Creating nail art patches at home is an excellent way to explore your creativity and achieve salon-worthy designs without the hefty price tag. With a few basic supplies and a little practice, you can effortlessly transform your nails into stunning works of art. So, why not give it a try? Let your imagination soar, and have fun experimenting with various colors, patterns, and decorations. Get ready to dazzle everyone with your fabulous DIY nail art!


Comments