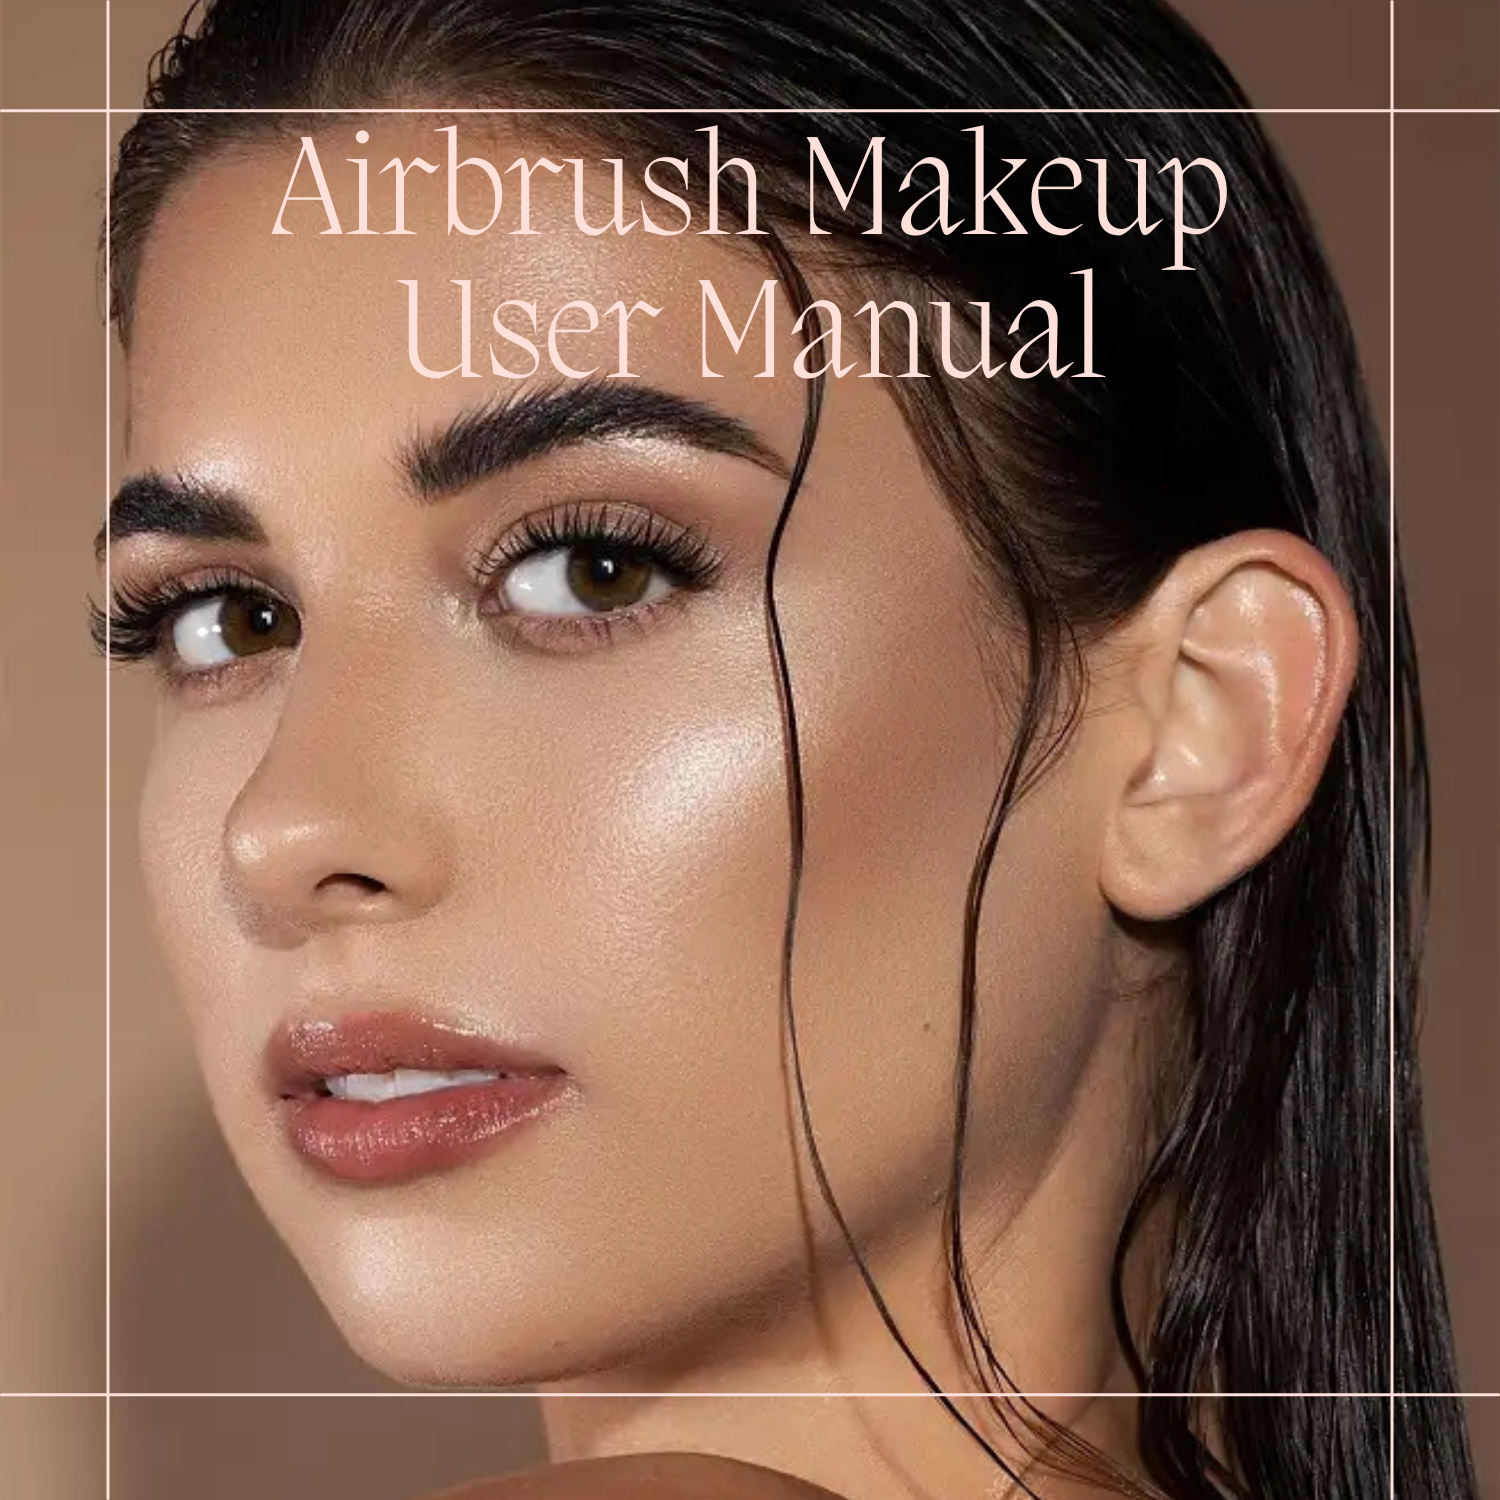
How to Get Flawless Makeup: Airbrush Makeup Kit User Manual

Are you tired of spending hours in front of the mirror trying to achieve that perfect makeup look, only to have it smudge or fade by midday? If so, it might be time to consider upgrading your makeup routine with an airbrush makeup kit. In this guide, we'll walk you through the basics of airbrush makeup and provide step-by-step instructions on how to use an airbrush makeup kit for that picture-perfect finish.
What is Airbrush Makeup?
Airbrush makeup is a technique that involves using an airbrush gun to spray a fine mist of makeup onto your skin. Unlike traditional makeup application methods that involve brushes, sponges, or fingers, airbrush makeup creates a smooth and even finish that looks natural and lasts for hours. It's a popular choice for bridal makeup, special occasions, or for anyone who wants to achieve a flawless complexion.
The Stucture of PELCAS Makeup Kit

How to Use an Airbrush Makeup Kit?
Step 1: Gather Your Supplies
Before you start, make sure you have all the necessary supplies:
PELCAS Airbrush makeup kit
Cleanse and moisturize your face
Primer (optional)
Liquid foundation
Blush, highlighter, and eyeshadow (optional)
Setting spray (optional)
Makeup remover (for cleaning the airbrush gun)
Step 2: Prepare Your Skin
Start with a clean, moisturized face. If you prefer, apply a makeup primer to create a smooth canvas for your makeup. Allow the primer to set for a few minutes before moving on.
Step 3: Choose the Right Foundation Shade and Type
Select a foundation shade that matches your skin tone. And it is recommended to use a sprayable liquid foundation, which is more effective, easy to use and easy to clean. Traditional foundations are very thick and tend to clog up airbrush machines.

Step 4: Choose Multifunctional Cup, Bottle or Cup to Add Foundation
- With multifunctional cup: Put the multifunctional cup inside the hole. Place the bottle at 90° and tighten it. Pour the foundation.
Note: You also can add essence into the multifuctional cup to skincare.
- With bottle: Pour foundation into the bottle. Turn the machine upside down and connect the glass bottle to the cup. Rotate the rubber lid, make sure the bottle is tightly connected to the multifunctional cup.
- With cup: Rotate the cup 90° clockwise to ensure tight connection with the machine. Pour the foundation into the cup.
Step 5: Begin Airbrushing
Turn on the switch, keep airbrush upright spray, press the control button and spray onto the face from a distance of 10-15cm. Use gentle, circular motions to apply the foundation evenly. Start from the center of your face and work your way outwards. Build up the coverage gradually to avoid over-application.

Note: You can adjust the amount of spray

Step 6: Contour and Highlight (Optional)
If desired, use the airbrush kit to apply blush, highlighter, and eyeshadow. Remember to clean the airbrush gun thoroughly between each color change to prevent mixing.
Step 7: Set Your Makeup
Once you're satisfied with your makeup application, you can set it with a makeup setting spray for added longevity. This step is especially important if you'll be wearing your makeup for an extended period.
Step 8: Clean Your Airbrush Kit
After using your airbrush makeup kit, it's essential to clean it properly. Disassemble the gun and clean all parts with makeup remover or cleaning solution. This maintenance will ensure that your kit remains in excellent working condition for future use.
Demonstration Video
https://www.youtube.com/watch?v=1rb2Pg3F3Is&t
Effect Display


Comments