Unveiling the Art of Contouring
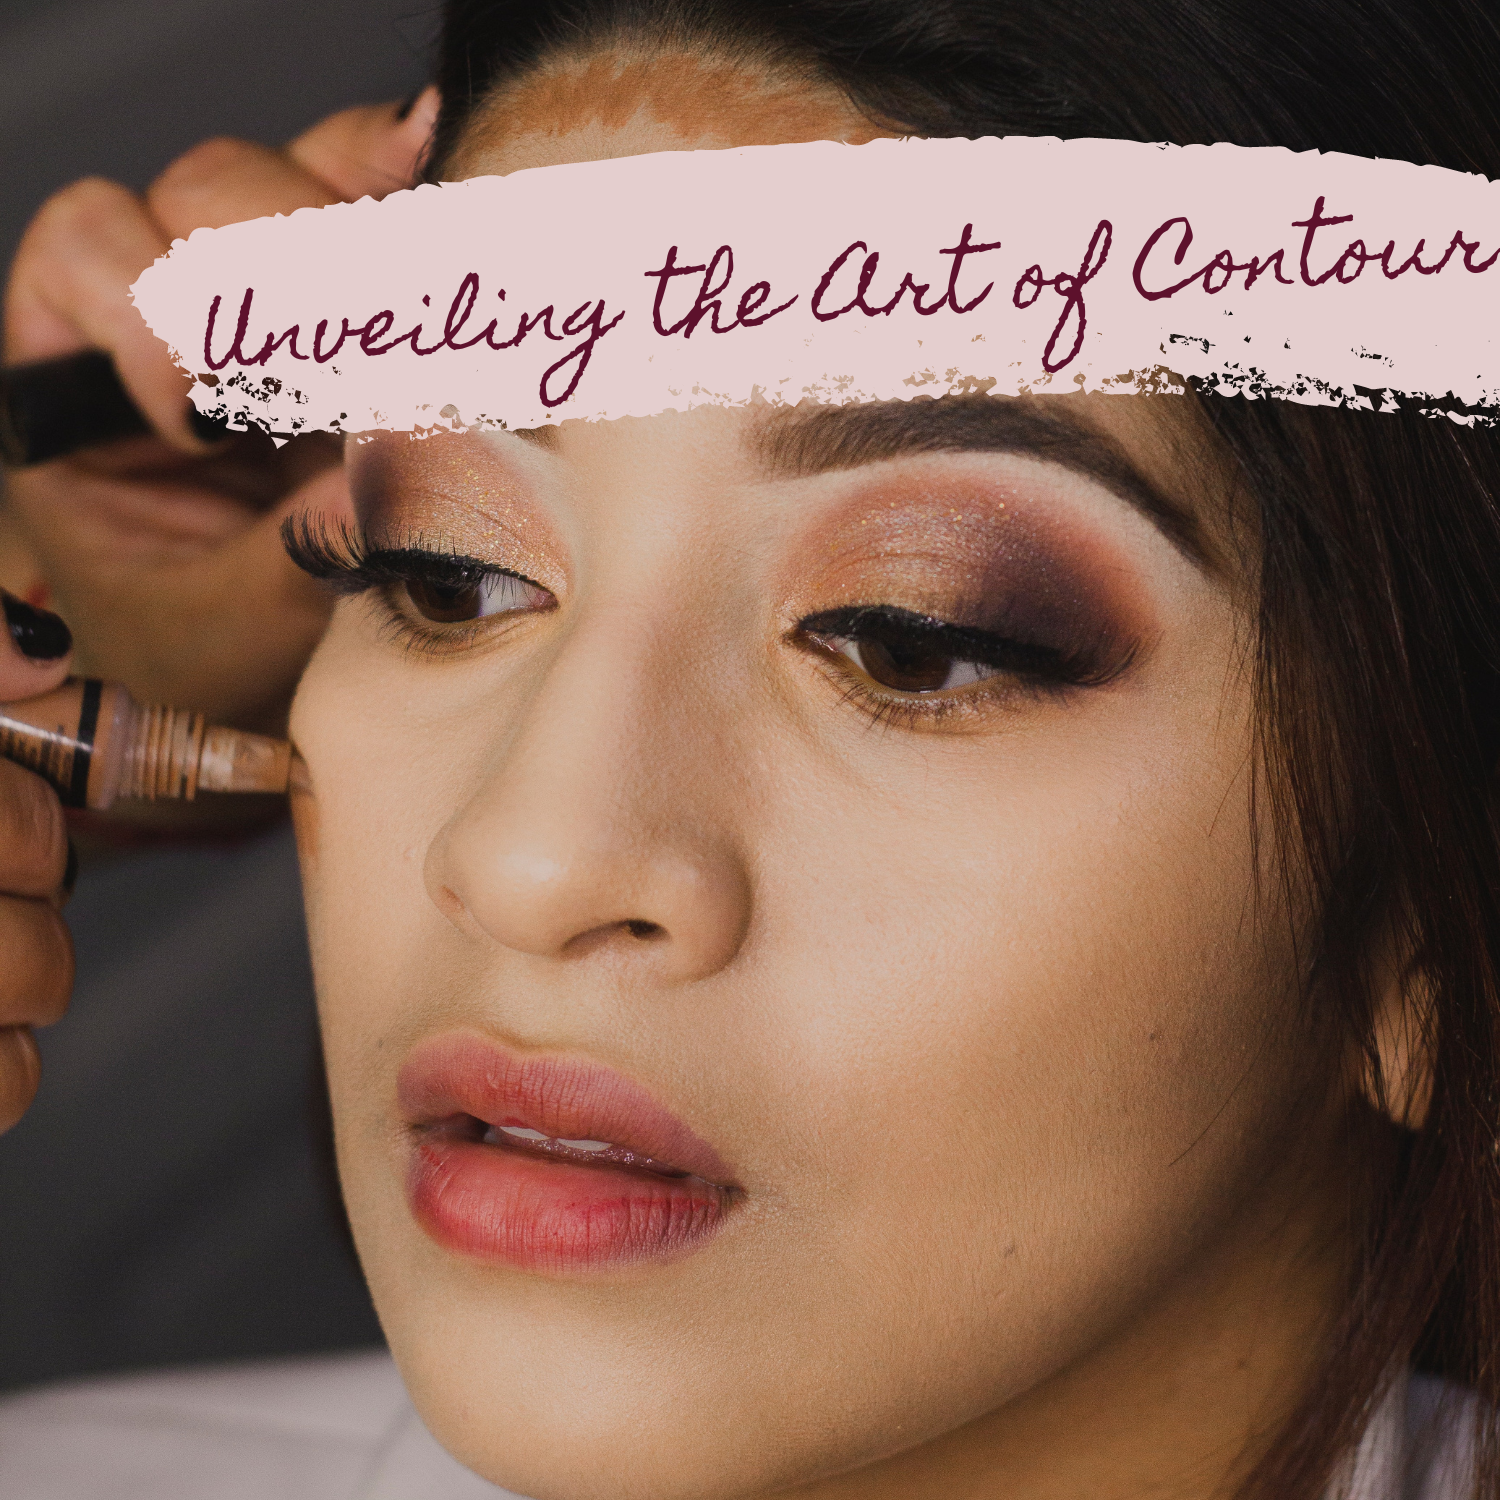
In the realm of makeup, there is a technique that has gained immense popularity over the years for its transformative powers - contouring. This artful skill has revolutionized the way we enhance our facial features, allowing us to sculpt and define our natural beauty. In this blog post, we will delve into the fascinating world of contouring, exploring its history, techniques, and the tools you need to achieve a flawless contoured look.
The Origins of Contouring
Contouring is not a recent phenomenon. Its roots can be traced back to the early days of Hollywood, where makeup artists discovered the potential of using shading and highlighting to create dimension and depth on the silver screen. Over time, the technique evolved and became a staple in the makeup routines of professionals and beauty enthusiasts alike.
The Basics of Contouring
Contouring involves the strategic application of darker and lighter shades of makeup to create the illusion of shadow and light on the face, sculpting and shaping the features. The key areas to focus on are the cheekbones, nose, jawline, and forehead. By understanding your face shape and desired outcome, you can customize your contouring technique to suit your unique features.
Essential Tools and Products
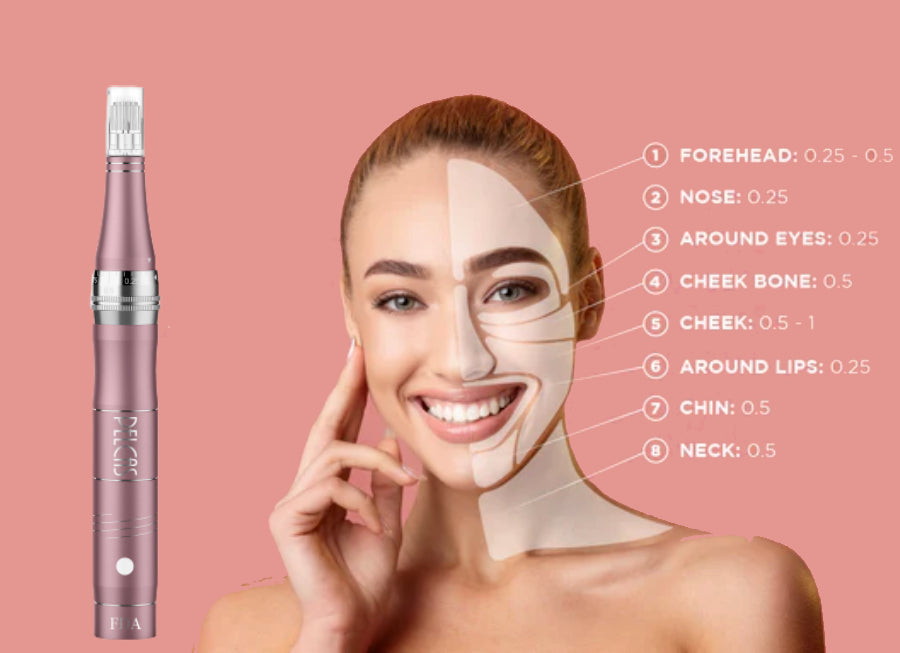
To achieve a flawless contour, you'll need a few key tools and products in your arsenal. A contouring palette with shades that complement your skin tone is essential. Opt for matte powders or creams that are a few shades darker than your natural skin color for the contour, and a highlighter that is a shade lighter for the highlighting step. Additionally, a quality angled brush, a blending sponge, and a fluffy brush are indispensable for seamless application and blending. In addition, Pelcas airbrush makeup kit also can be a contouring tool. It is more easier to penetrate into the skin.
Step-by-Step Contouring Guide
- Prep your face: Start with a clean, moisturized face, and apply a light layer of foundation or tinted moisturizer that matches your skin tone.
- Identify your features: Determine which areas of your face you want to emphasize or downplay. For example, if you want to define your cheekbones, focus on that area.
- Contouring: Using the darker shade, apply it along the hollows of your cheekbones, the sides of your nose, and the perimeter of your forehead and jawline. Remember to blend well to avoid harsh lines.
- Highlighting: Apply the lighter shade to the high points of your face, such as the tops of your cheekbones, the bridge of your nose, and the center of your forehead. Blend it seamlessly into your foundation for a natural glow.
- Blending: Use a blending sponge or a fluffy brush to blend the contour and highlighter, ensuring a seamless transition between the shades.
- Set your makeup: Finish off with a light dusting of translucent powder to set your contour and keep it in place throughout the day.
Customizing Contouring for Different Face Shapes
Each face shape requires a slightly different approach to contouring. Whether you have a round, oval, square, or heart-shaped face, understanding the specific techniques that work best for your features can help you achieve the most flattering results.
Contouring is a remarkable technique that empowers individuals to enhance their natural beauty. With a little practice and the right tools, anyone can master the art of contouring. Experiment with different shades and techniques to discover the perfect contour that enhances your unique facial structure. Remember, contouring is all about embracing your features and highlighting what makes you uniquely beautiful. So go ahead, embrace the transformative power of contouring and unlock a new level of confidence in your makeup routine.



Comments